
Buttons are helpful if you would like to create dynamic, visual links inside or outside of your Aportfolio. This tutorial will walk you through the process.
Step 1 | Go to your favorite photo editor either online or using software. You could use Photoshop, Adobe Illustrator, or Pixlr. This tutorial is using Canva.com | 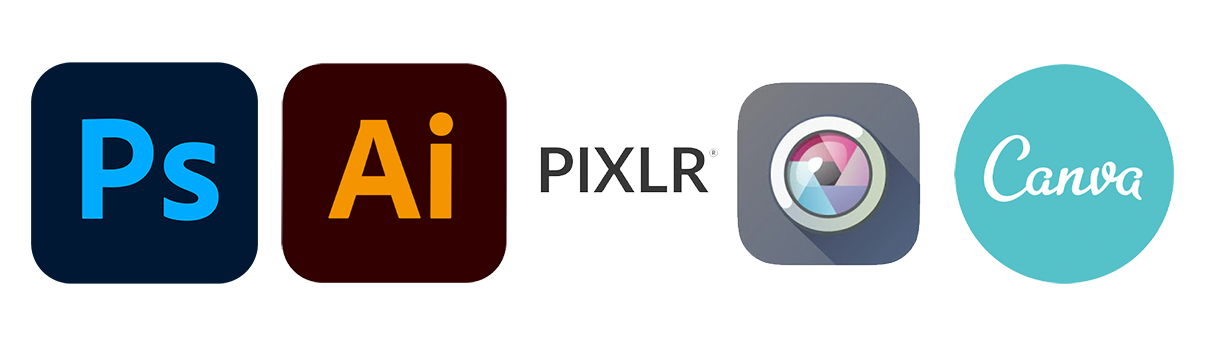 |
|---|---|---|
Step 2 | Create your own free canva account and then click Create a design on the top right of the screen. | 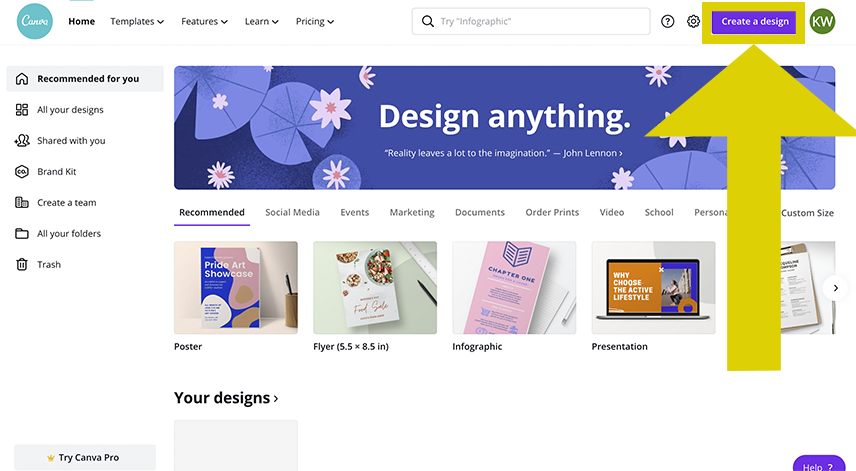 |
Step 3 |
Click custom size. If you would like a square button, 125 x 125 pixels is a good size. If you would like a rectangular button, 120 x 90 or 120 x 60 pixels is good. NOTE: you should use pixels as your dimension measurement. Then click “Create new design” | 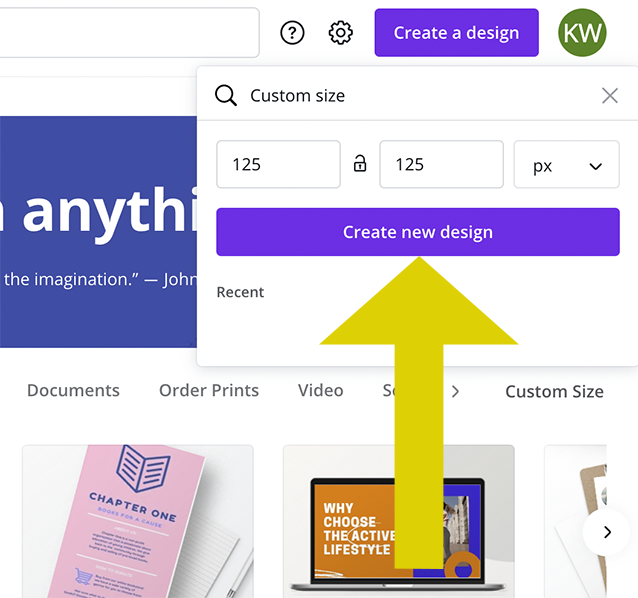 |
Step 4 | Design your button! Design Tips: Choose a background for your button. Your background should be very simple with no distracting photos. NOTE: This background features an ombre blue which is interesting, yet not overly distracting.
Choose a simple font for your button. This button uses Times Neue Roman. | 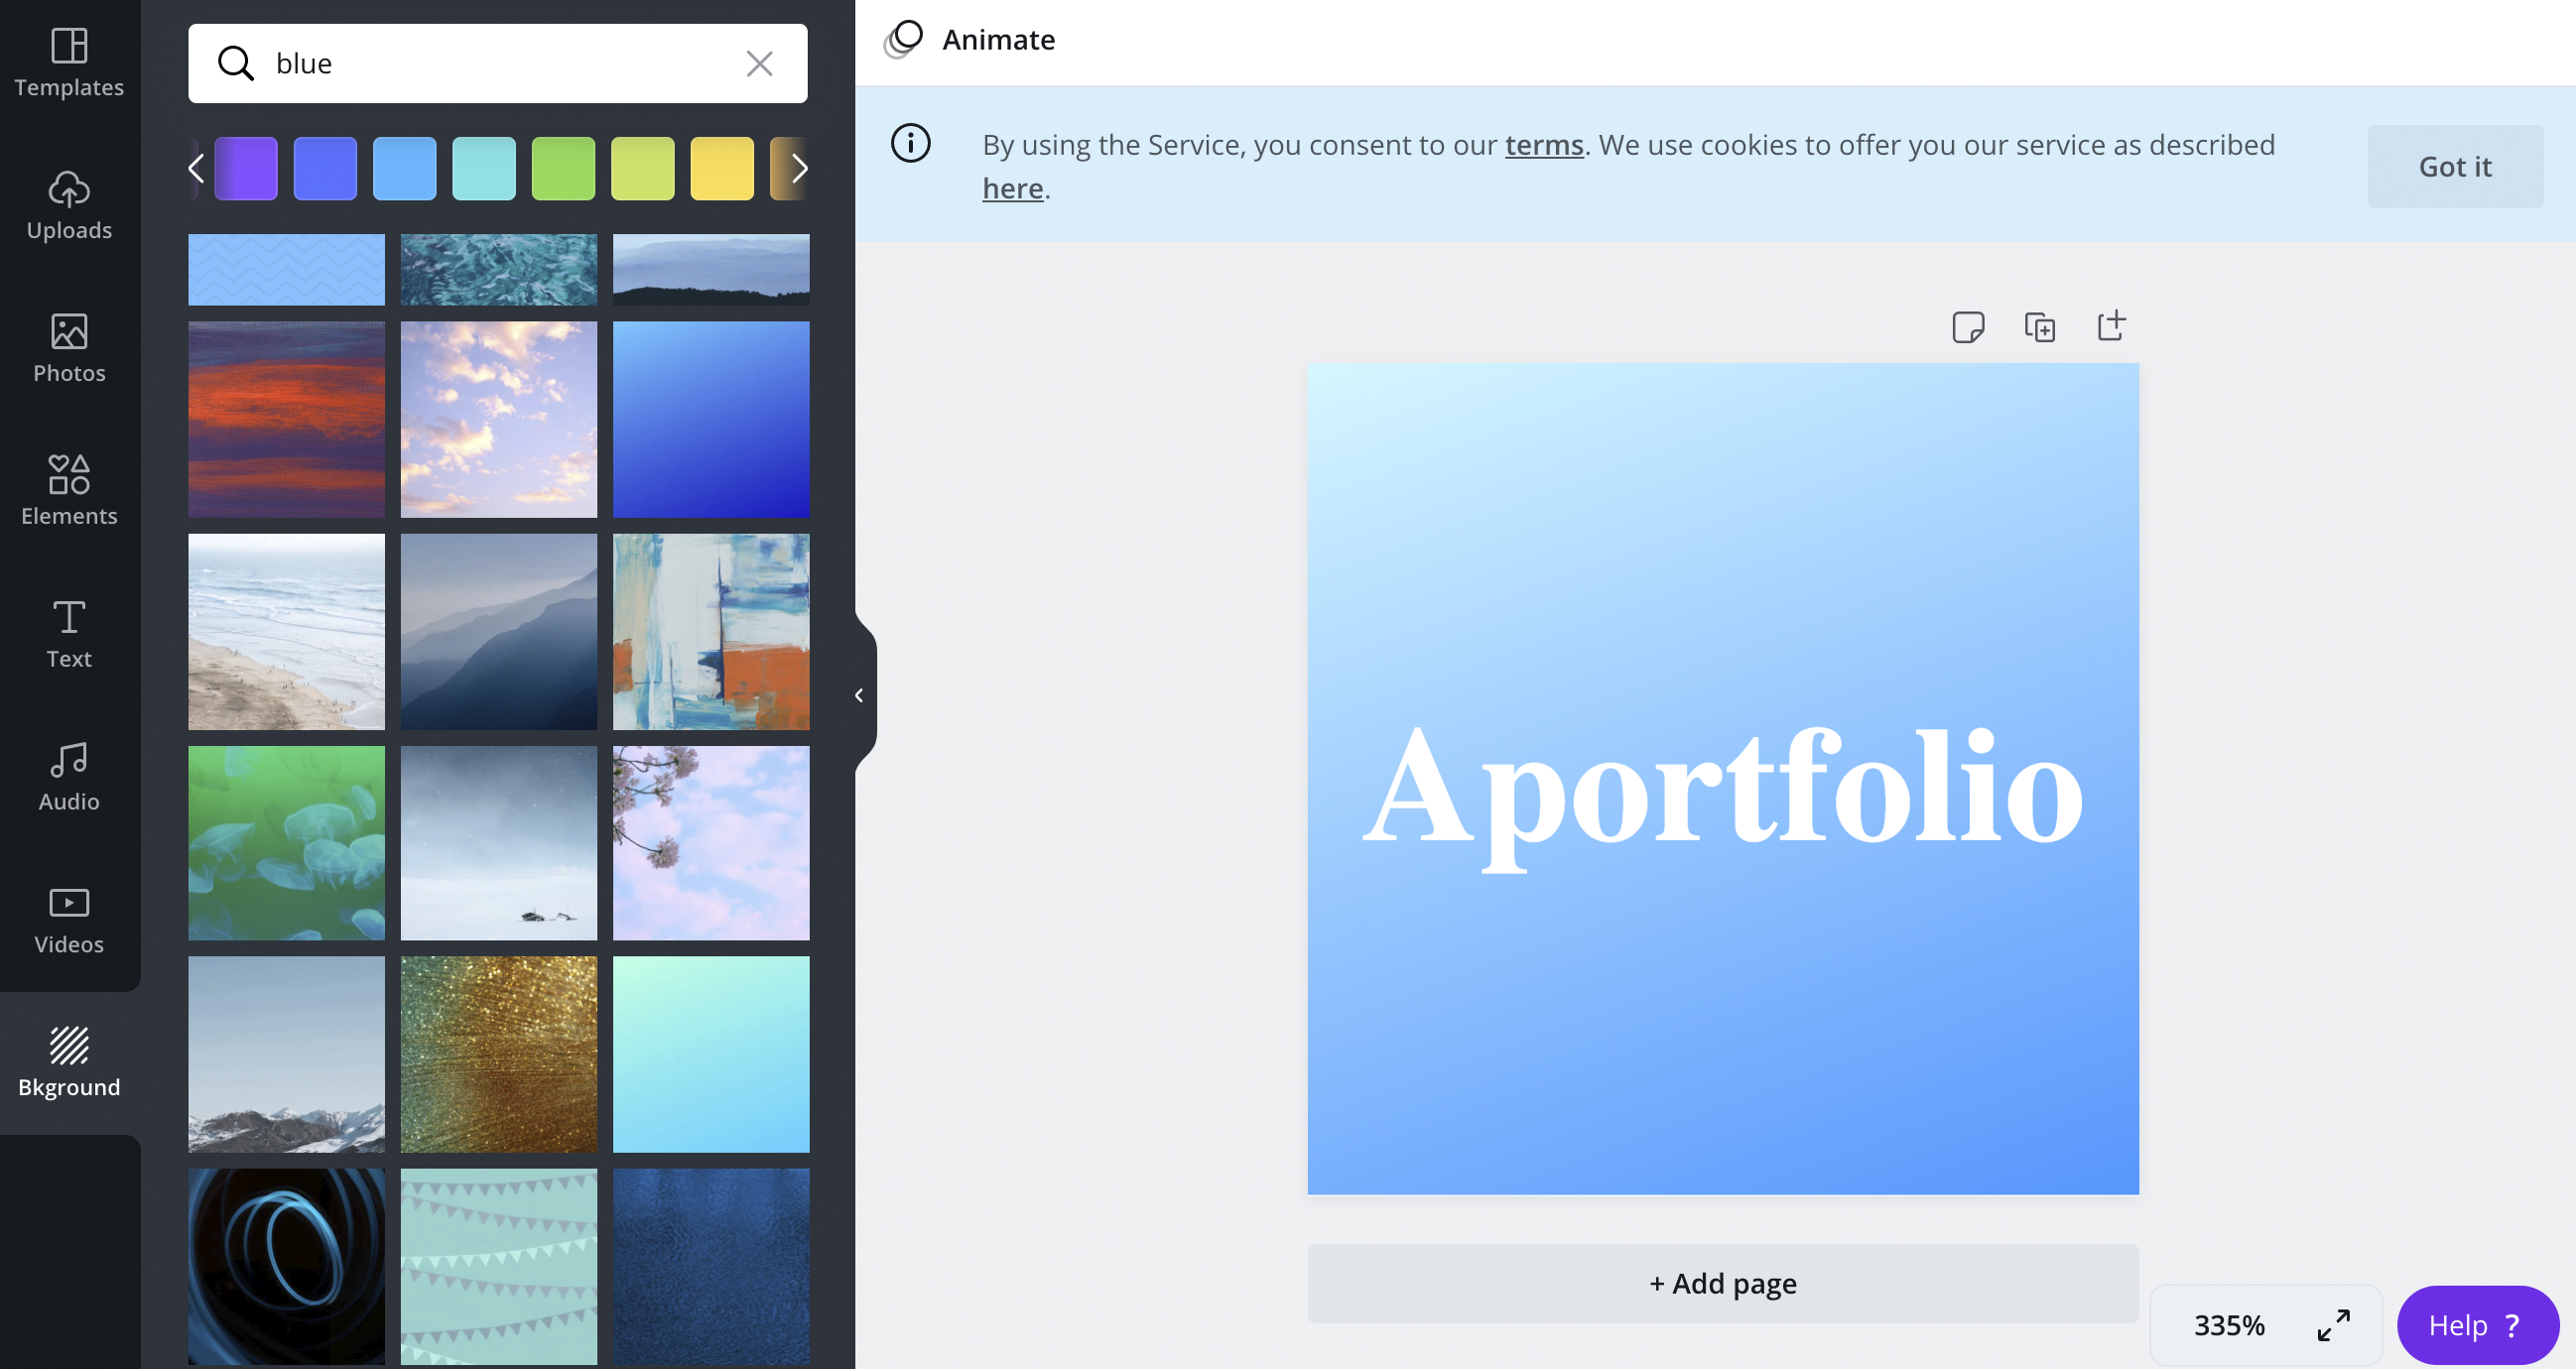 |
Step 5 | Download or save your button. If you are using a website, download your image as a PNG. If you are using software, you should also save it as a PNG. | 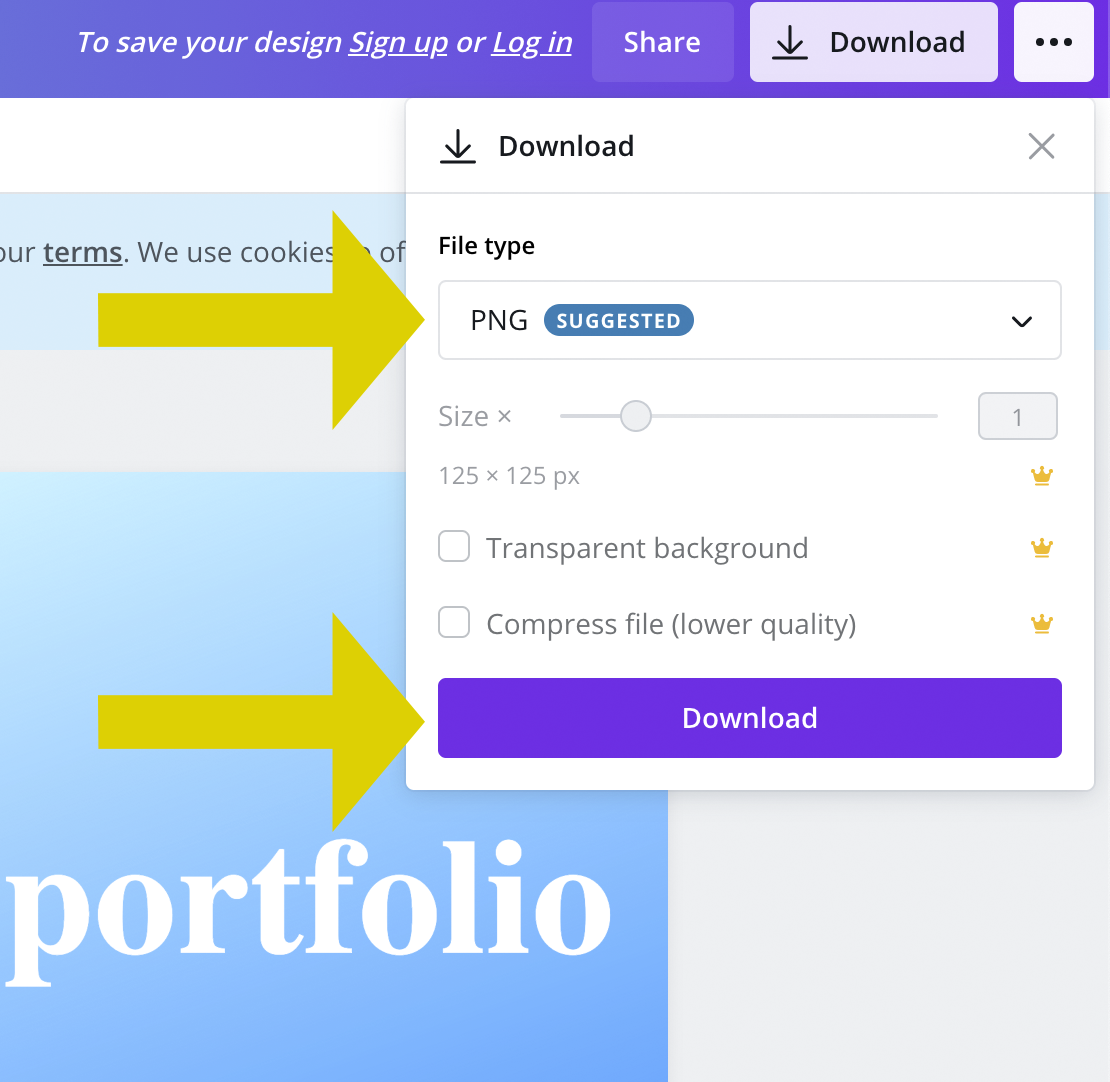 |
Step 6 | You can either upload the PNG by either dragging it directly onto your page or clicking the blue button and choosing “upload file.” | 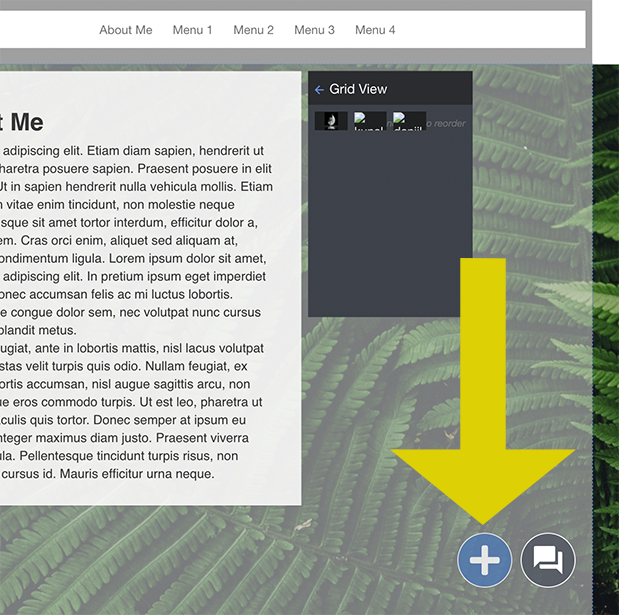 |
Step 7 | Using the circles in the corner of the image, resize your button as you like. Move the button to its desired location with the multidirectional arrow.
Note: If you button looks blurry, it could be because it is stretched. Resizing the image should fix that problem. | 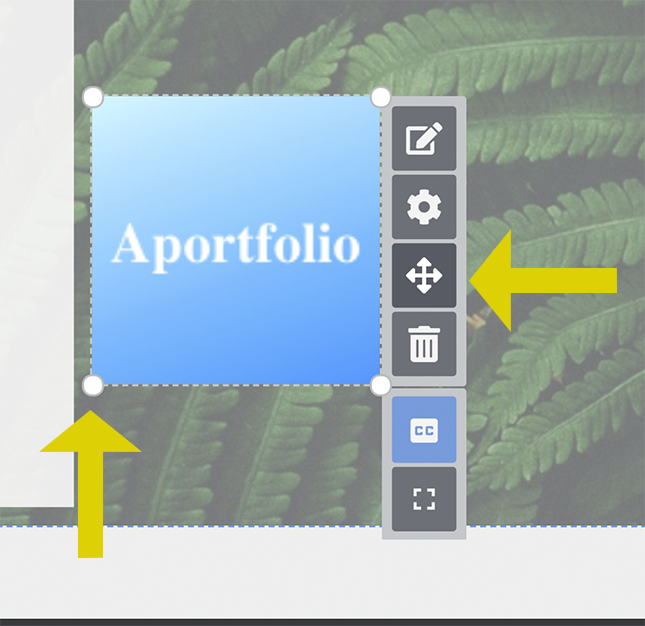 |
Step 8 | To make your image a clickable link, click on the Settings icon. | 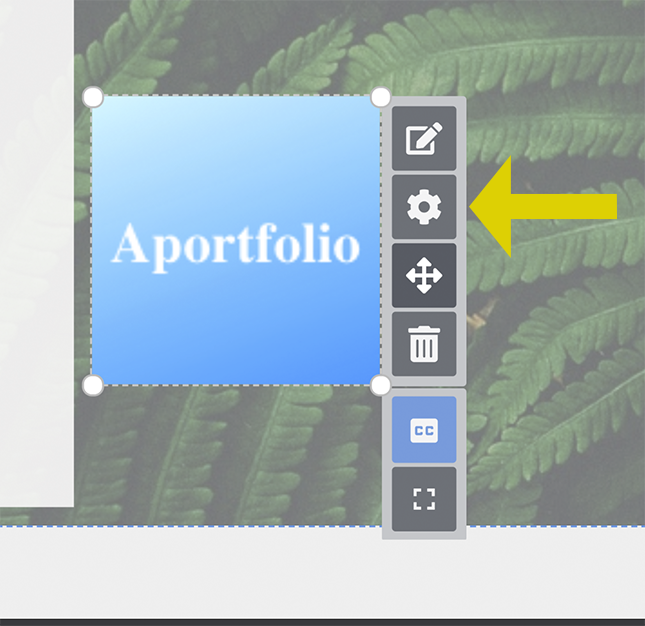 |
Step 9 | Under the image settings, turn on “make image clickable” and paste your URL. Note: You can choose whether the link opens a new window in the browser or not. We suggest using open in new browser if you are linking to sites outside of your Aportfolio such as LinkedIn. You may also try messing with the “best fit” and “full image” options as well. | 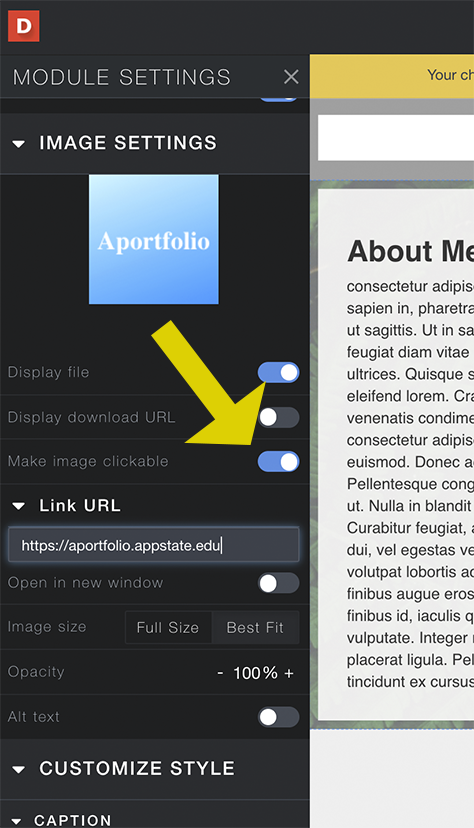 |
Step 10 | Check that your link is working. To do this, first publish the page. | 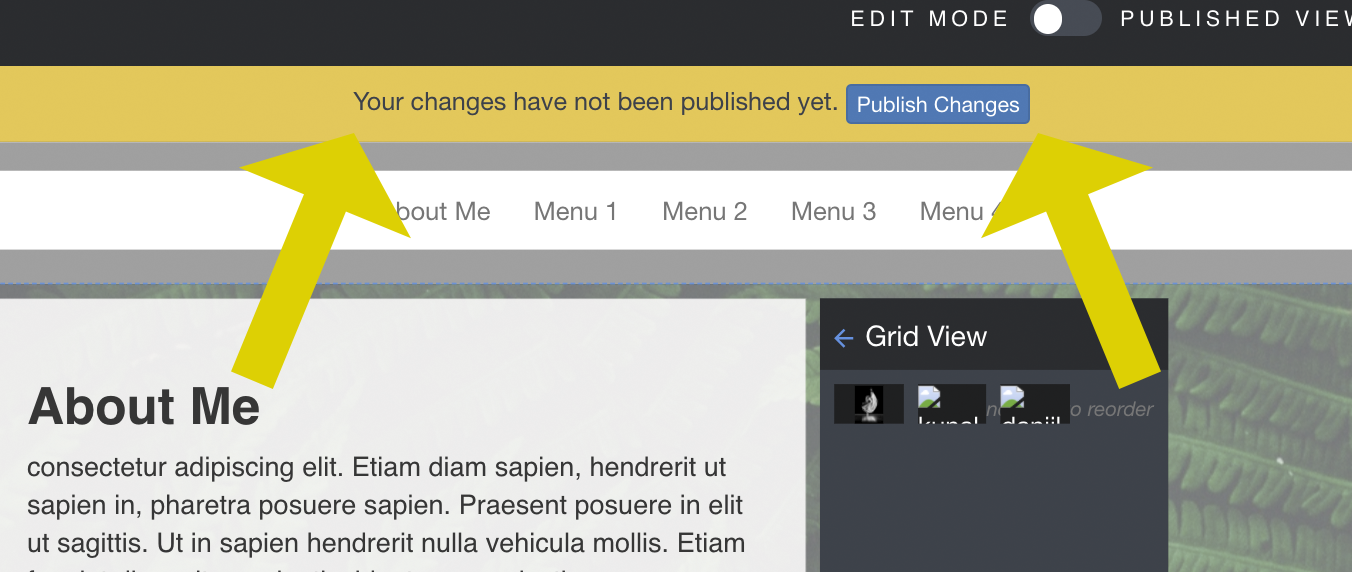 |
Step 11 | Click on the Published View. It’s located up and to the right of your menu. | 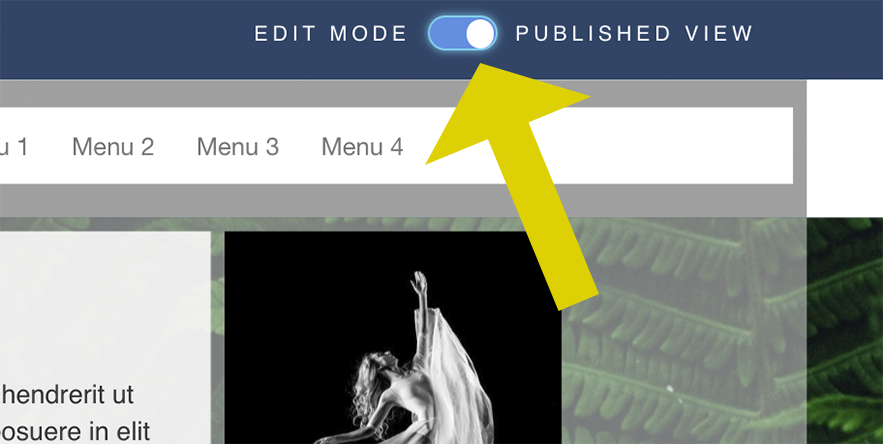 |
Step 12 | Finally, click on your button. | 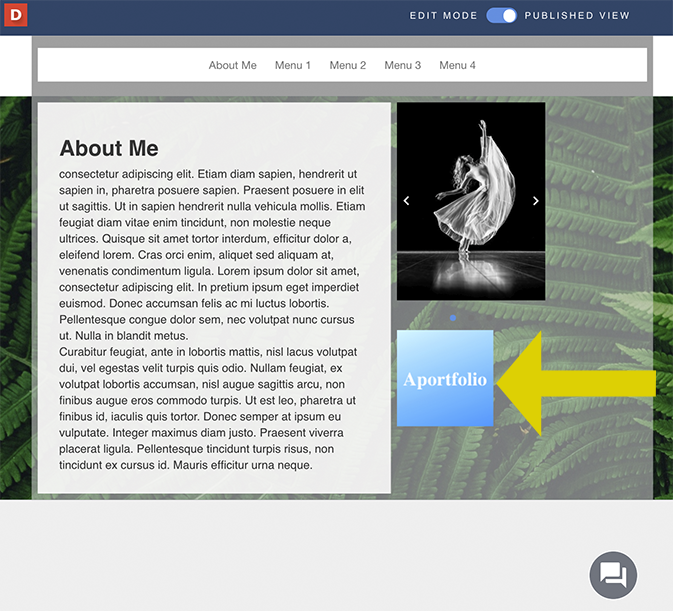 |
If you have additional questions, email us at aportfolio@appstate.edu