Step 1 | Click on the hamburger icon in the top right of the screen. | 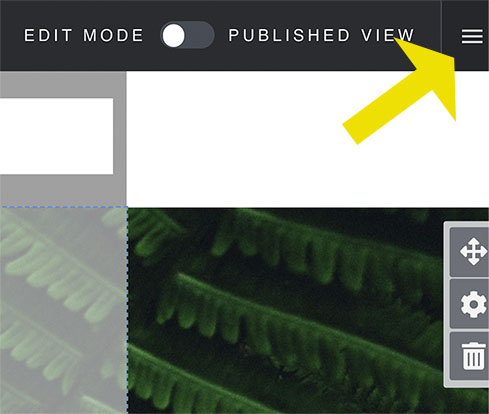 |
|---|
Step 2 | Click the organize button. | 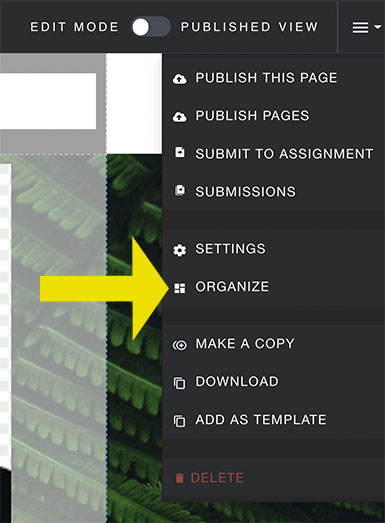 |
|---|
Step 3 | To move content around the page, use the screen on the left. |  |
|---|
Step 4 | To move content around the page, you can use the icon with four arrows. Click and drag on the logo. | 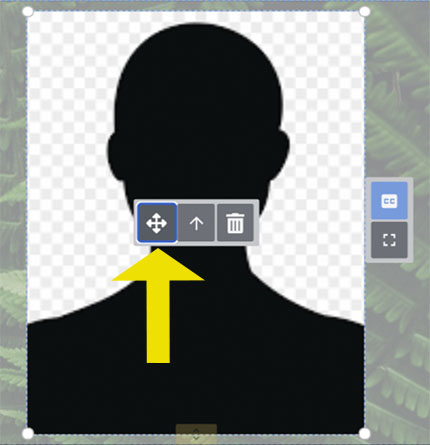 |
|---|
Step 5 | Click the single arrow logo to move content from section to section. | 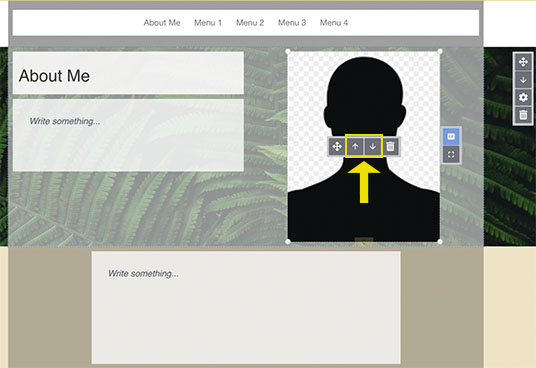 |
|---|
Step 6 | You can also change to order of the sections: Use the single arrow icon to move a section up or down one section at a time. | 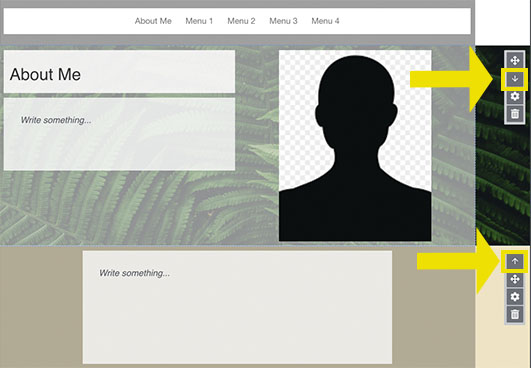 |
|---|
Step 7 | Use the four arrow icon to drag the section to where you would like it to be. | 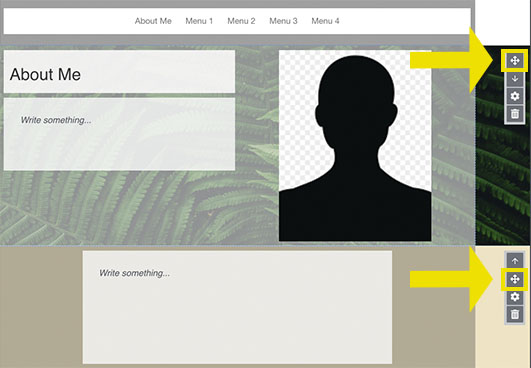 |
|---|
Step 8 | The right-hand side of the screen allows for movement between pages or even ePortfolios. To move content from a page within your current eportfolio, click “Show Current ePortfolio”. To move content from a different portfolio, click “Show Another Portfolio”. | 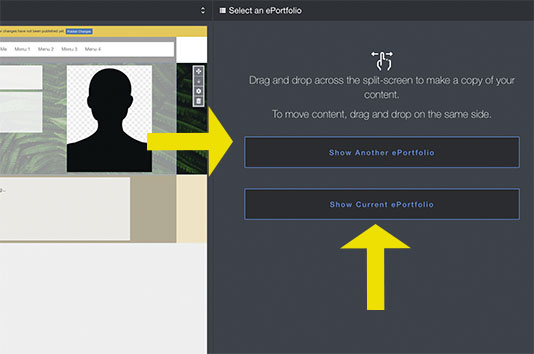 |
|---|
Step 9 | After this, you can select a portfolio to work from. This does include the one you are already working on. | 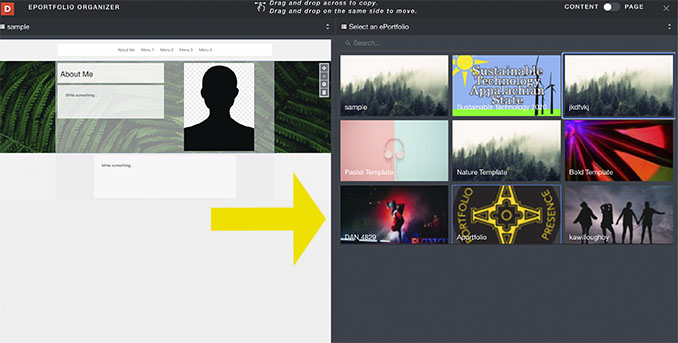 |
|---|
Step 10 | Once you have your desired portfolio, you can move content from one to the other. To do so click on the four arrows moving tool. | 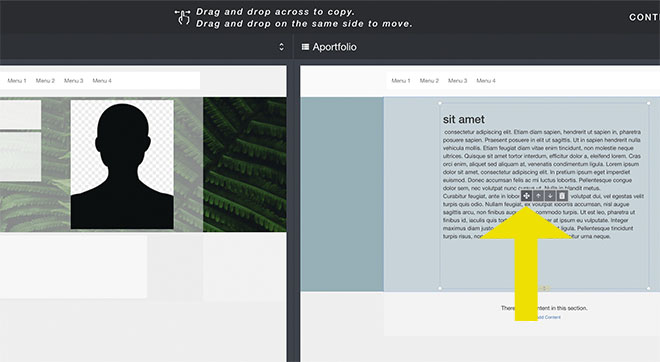 |
|---|
Step 11 | Then, click and drag the content to the other portfolio. | 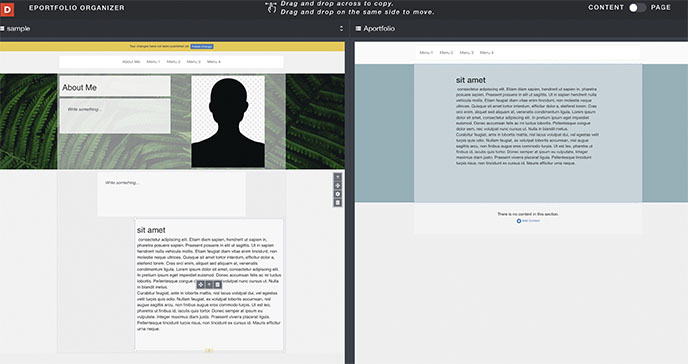 |
|---|
Step 12 | To put a new portfolio on the right hand side of the screen, click the arrows next to the name of the portfolio at the top of the page. |  |
|---|
Step 13 | From here, you can select a new portfolio to work from. | 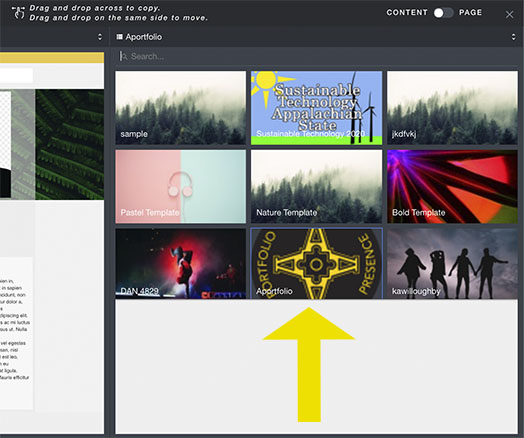 |
|---|
Step 14 | When you are done organizing, click the ‘X’ at the top right of the screen. | 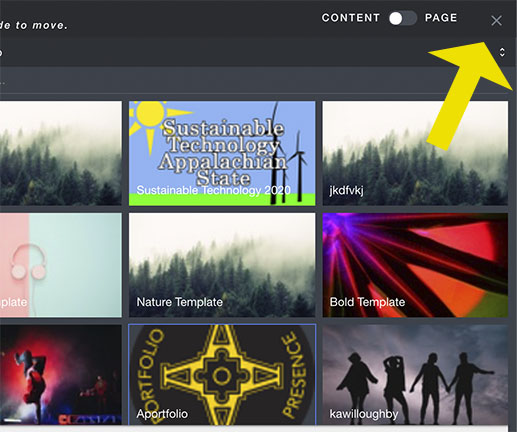 |
|---|