
The following tutorial will guide you through the steps of adding different types of content to your Aportfolio.
Step 1 | Make sure that you do not see this warning at the top of your page before adding content. This results in adding content to the header and you will see that content on every page. If you see this warning, click anywhere below the header. | 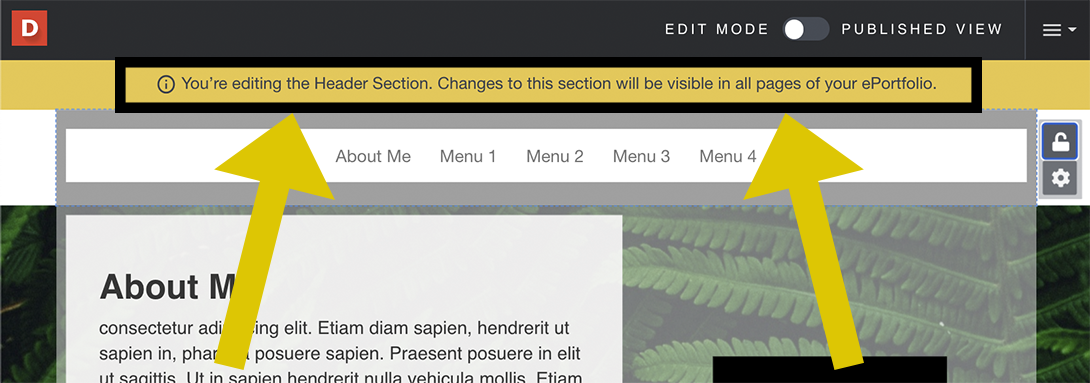 |
|---|---|---|
Step 2 | To add content, click the blue "Add Content" button in the bottom right-hand corner. | 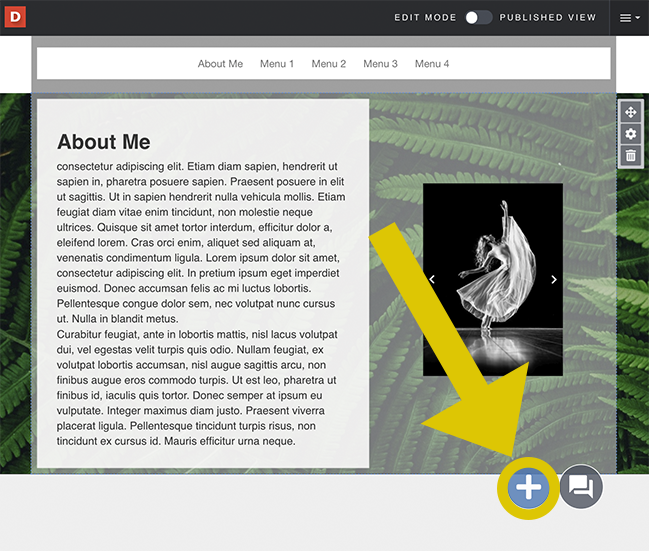 |
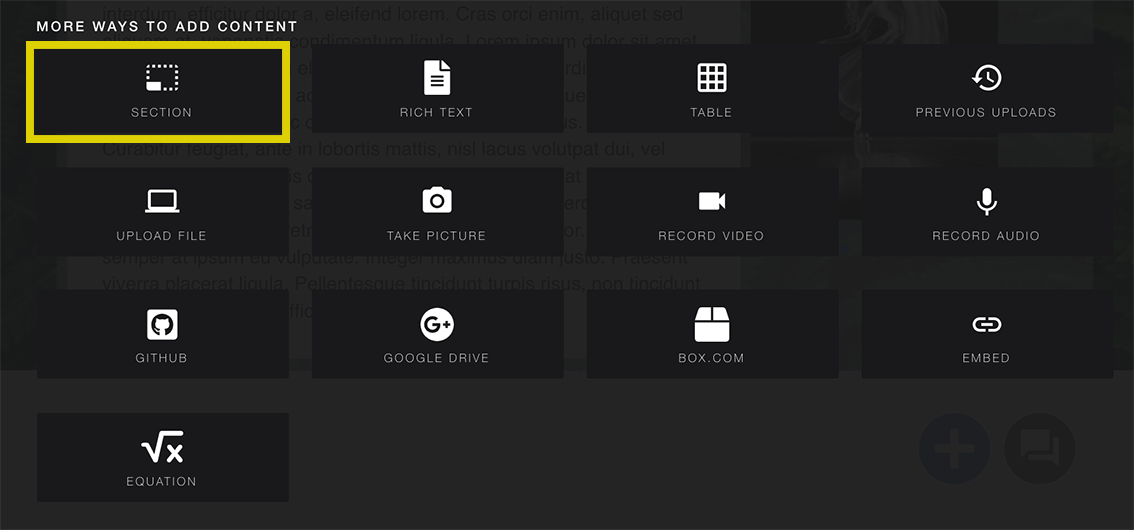
Step 3 | This is the content library. You can see there are many options available to you in terms of how you would like to upload content. | 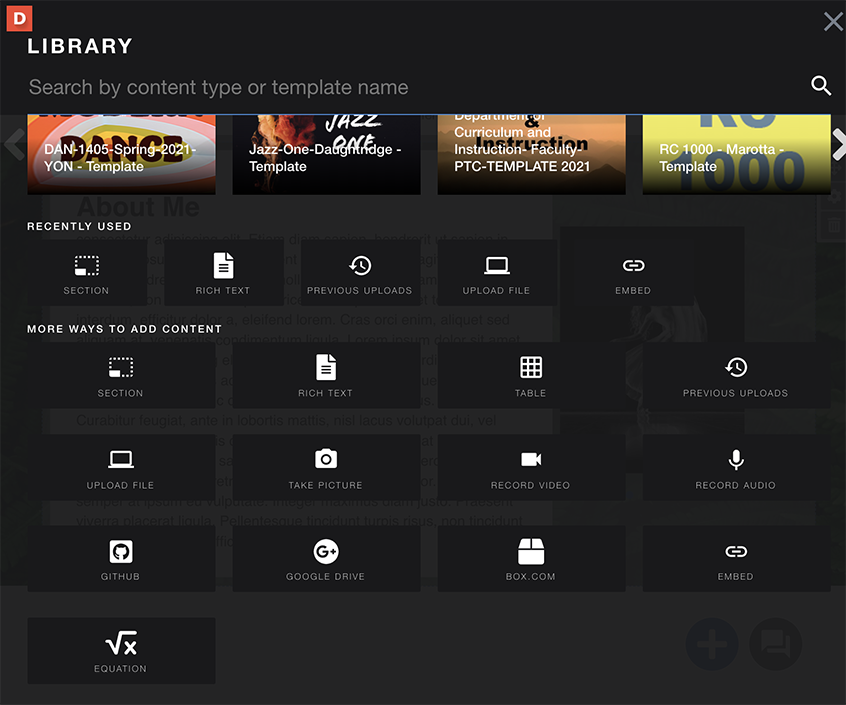 |
Step 4 | You may see this section. If you do, we DO NOT suggest choosing a template from this section. Choosing a template here will add unwanted pages to your eportfolio. | 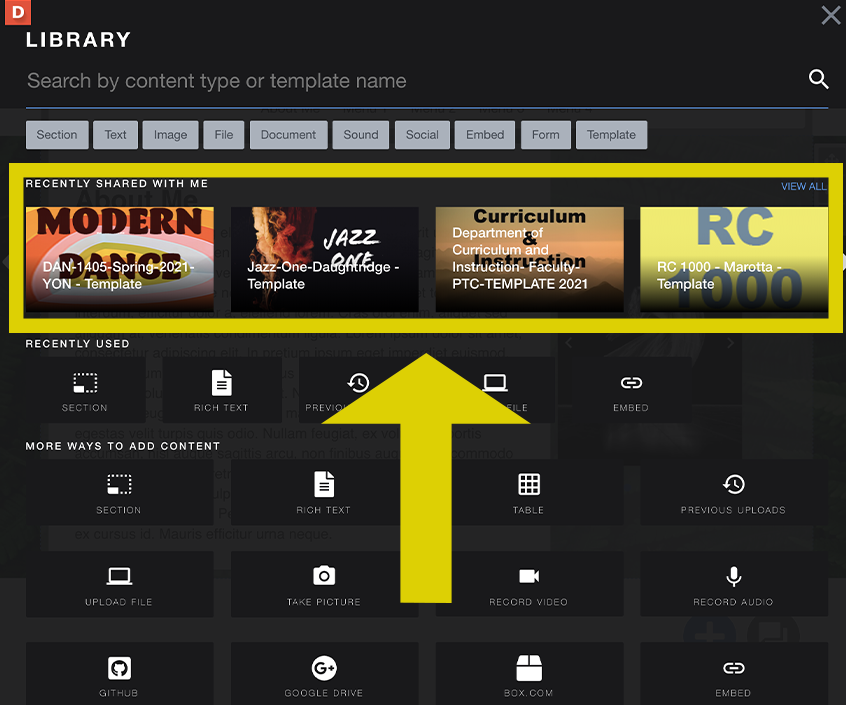 |
Step 5 | Most likely, one of the first types of content you will need to add to your eportfolio is text. You can do this by clicking on the rich text icon. You can add text directly onto your slide. | 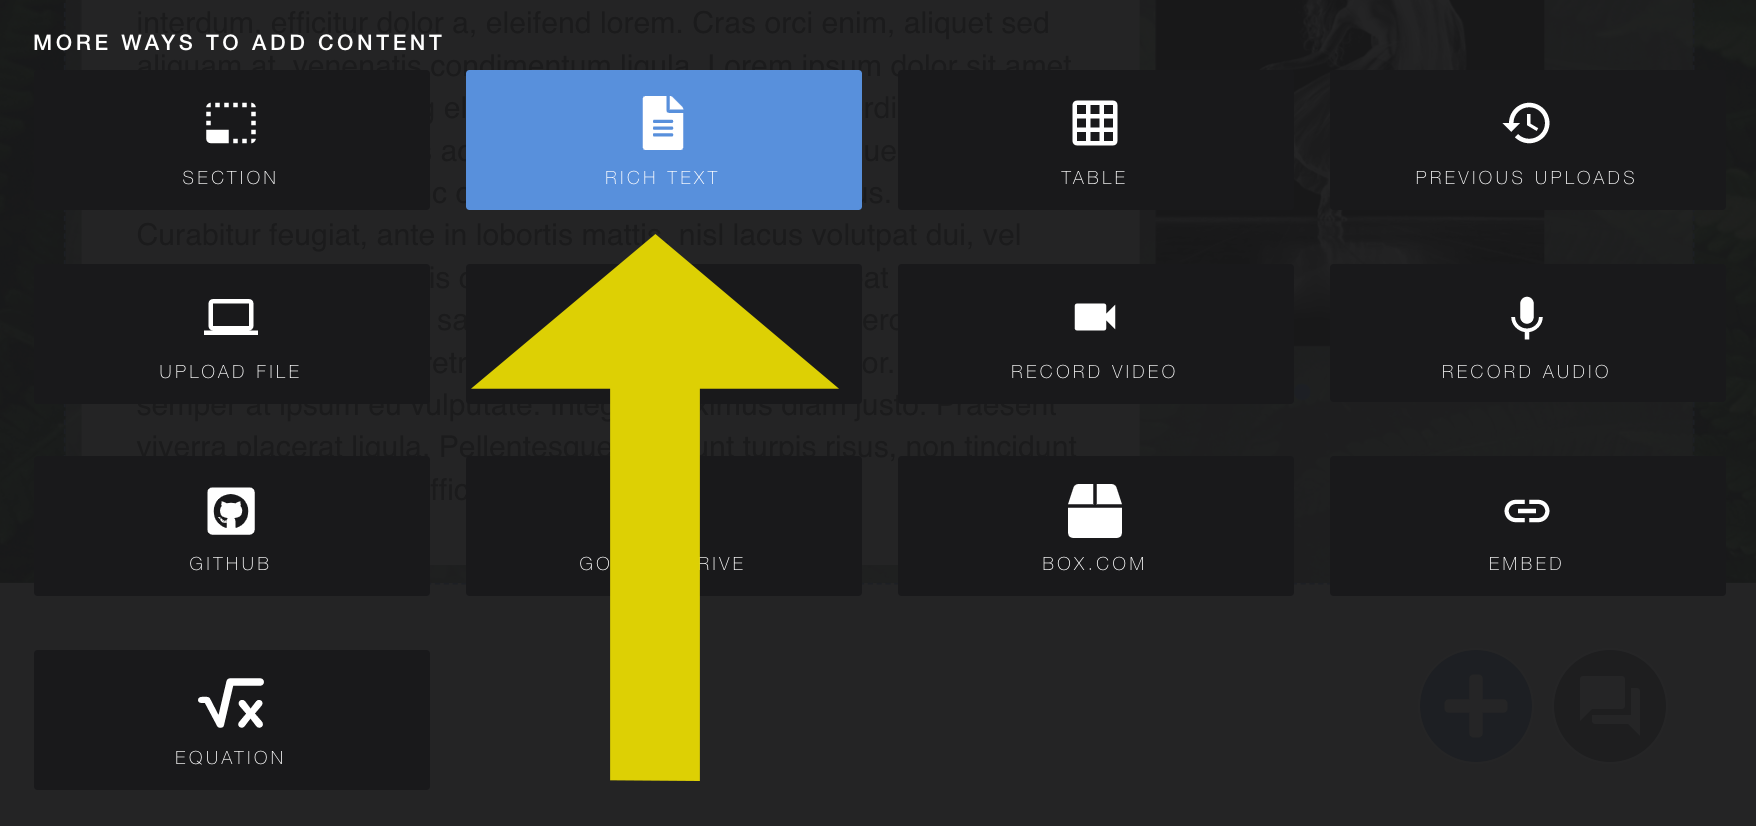 |
Step 6 | Your changes will be automatically saved, however you do need to publish pages before your audience can view them. | 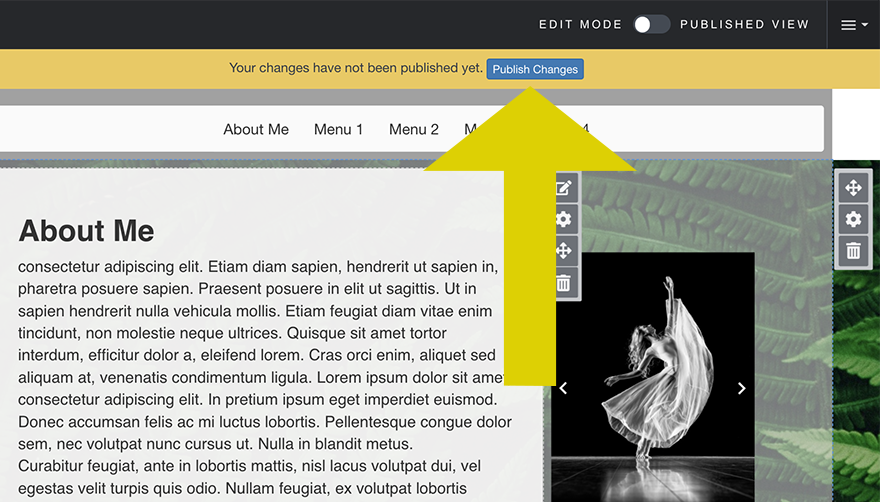 |
Step 7 | If you need to add a photo to your slide, you have many options depending on where the photo is saved. You can upload a file from your computer or Google Dive. You can upload a PDF or word file in much the same way. *You can also drag content directly from your desktop onto your eportfolio slide. | 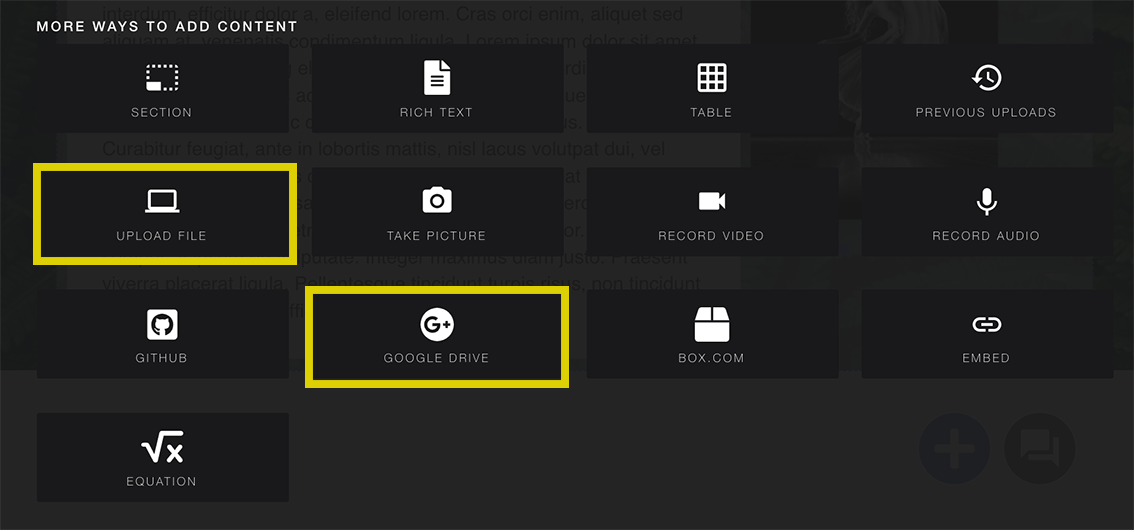 |
Step 8 |
|  |
If you have additional questions, email us at aportfolio@appstate.edu